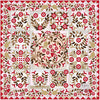
Winterwood Quilt Progress on Borders
April 27, 2017
3 Comments
This week my focus has been to progress and hopefully finish the borders for the Winterwood Quilt. The Winterwood Quilt was put aside so I could finish off some of my works in progress, and a bit of piecing fun. I find it is always good to have a balance between applique and piecing. After all variety is the spice of life !
Take a look at my progress so far......
Cutting out and turning the edges of all the applique pieces for the border.

Stitching them all to the background fabric invisibly by machine.

You may notice I use flower head pins to secure the applique pieces. I like to use pins, this helps when an applique piece needs to be readjusted before stitching in place.
I now have all my blocks sewn together, with the borders pinned in place on the design wall to take a look at how it's coming along. The top border still need applique pieces added but you get the general idea. My sewing room is small and my design wall is not quite big enough for a quilt this size. Not complaining......
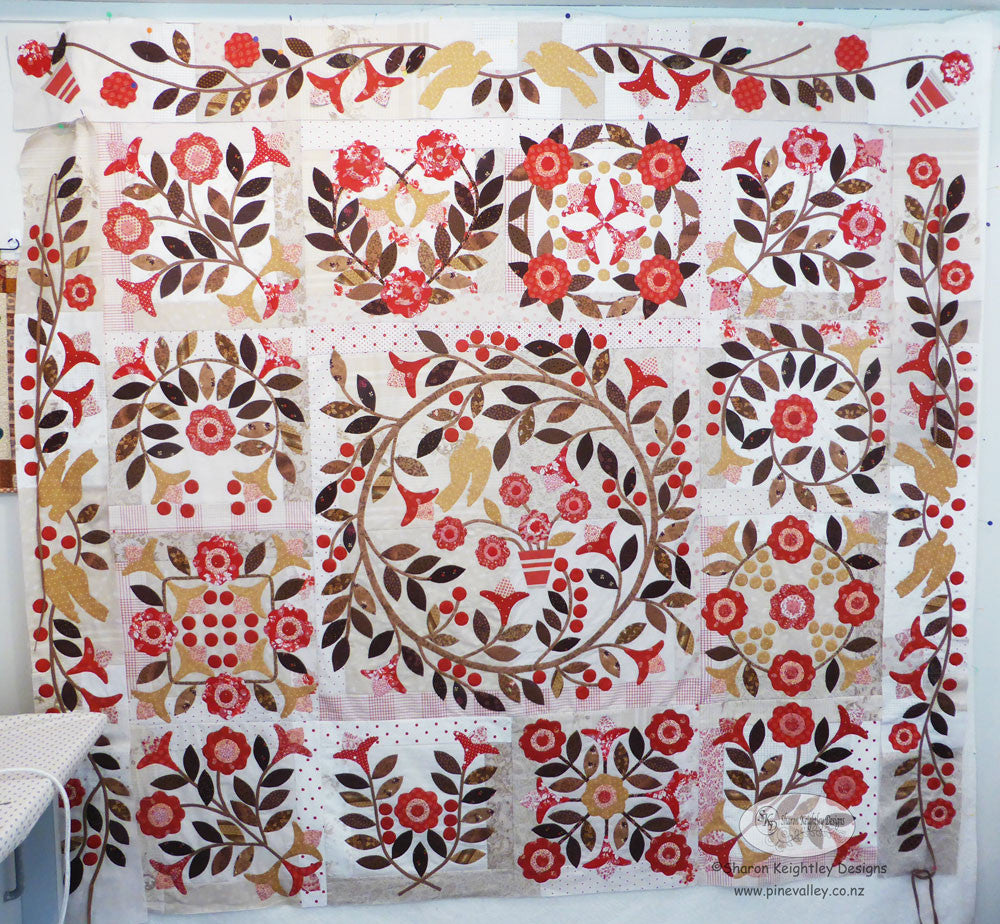
I am looking forward to finishing the Winterwood quilt top.
This is the latest block six you can find it here.

Happy Stitching
Sharon
Find all Pine Valley Quilts Patterns here

You can find more of my Quilty Ramblings blog posts on all things quilting here
Take a look at some of the downloadable PDF patterns available
See more of my video tutorials here
To keep up with my blog posts on the Quilty Ramblings blog, sign up to the newsletter below to have my blog post drop straight into your email.

3 Responses
Leave a comment


Susan Nixon
May 07, 2017
It looks so lovely! I’m hand stitching Rambling Ways, very slowly on first pieces for first block. I got frustrated with the freezer paper and am going back to needle turn. I think I get smoother edges. We’ll see. I may yet find some combination of ingredients that makes mine look as nice as yours.