Sewing Flying Geese method four at a time
April 27, 2022

Flying Geese blocks four at a time, this is a great method to use. There are many traditional blocks that use four flying geese units, Sawtooth star blocks are one of them.
While making the Adelicia Sampler Quilt I have been asked to show how I sew them, so here is how I go about sewing Flying Geese using this method.

This method starts with squares, I like to make mine a little larger so I can trim the flying geese units to the correct size when they are made.
In this case I am making units that will measure 2 1/2 inches wide x 1 1/2 inches high when trimmed. So I cut one green print square 3 1/2 inches x 3 1/2 inches and four light print squares are cut 2 1/8 inches x 2 1/8 inches. For a scrappy look you can use different fabrics for each of the four light print squares.

Draw a line from corner to corner on the diagonal on the wrong side of all four light print squares. Then pin two light print squares onto the larger green print square. Making sure all the edges are aligned, the light print squares will overlap in the center, so make sure the drawn line lines up on both squares. I like to pin the squares in place as you can see in the photo below. Pinning this way keeps the pins out of the way while I sew and keeps the fabrics from moving out of alignment.

I then sew a 1/4 inch seam allowance on each side of the drawn line. Aligning my 1/4 inch foot along the drawn line.

I cut on the drawn line to make two units. They look a little odd at this stage, but that's all part of the magic.

Press the towards the light print squares.

On both units add a light print square to each unit, again aligning the edges and pinning in place.

Sew each unit with a 1/4 inch seam allowance along each side of the drawn line.

Cut the unit apart on the drawn line, press towards the light print fabric to make all four flying geese units.

Trim your blocks to size. I am using a block lock ruler, these are very handy but if you do not have one you can trim the blocks with your normal quilting rulers.

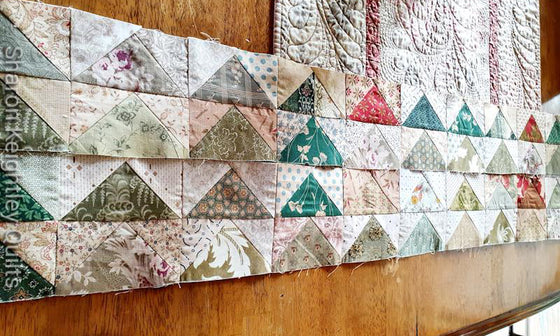
Below is a selection of scrappy flying geese blocks I have been making for the border of my sons quilt. You can read more about that and how I made them in my next up and coming blog post.

I hope this was helpful to you, it's always a pleasure to share.
Happy Sewing
Sharon
You can find the blocks here for the Adelicia Sampler Quilt
Please share this post with your quilting friends, the more the merrier as they say.
Keep up with all the posts via the Sharon Keightley Facebook page. Instagram and the Newsletter (you can sign up here) will give updates of all blog posts.


You can find more of my Quilty Ramblings blog posts on all things quilting here
Browse through my downloadable PDF patterns available here
Related Posts

Recently I have been sharing pictures on social media of the flying geese borders I have made for my sons quilt. Thes...
Read More
Part Two
If you missed part one you can find it here.
Just to refresh, in part one we talked about the notions I us...
Read More
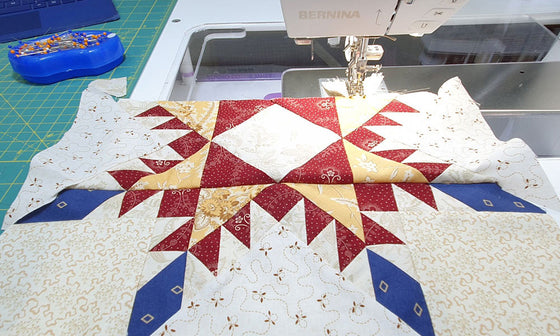
While sewing the Feathered Star block for the Adelicia Sampler Quilt, I learnt a few tips and tricks and would like t...
Read MoreLeave a comment


