Part One Feathered Star block, tricks and tips I have learnt.
March 11, 2022

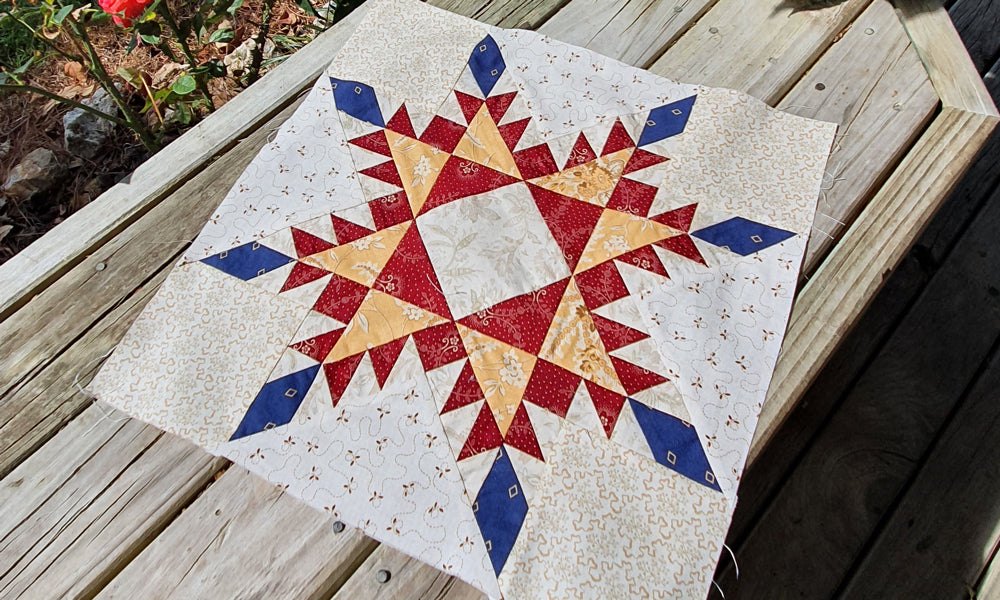
While sewing the Feathered Star block for the Adelicia Sampler Quilt, I learnt a few tips and tricks and would like to share them with you.
Things I use:
Template plastic or Freezer paper. Fine lead 0.05 retractable leaded pencil. 18mm rotary cutter. Small ruler with a clear 1/4 inch marking. Decobob thread top and bobbin (this is a personal choice) I like a fine thread for accuracy. Schmetz Microtex 70/10 needle.
Firstly, I drafted this block so it would be a 14 inch finished block. Which meant the pieces were odd sizes and not compatible for rotary cutting.
I made templates made from freezer paper to make my block. Although I have found that on occasion freezer paper will shrink a little when used with a hot iron, so I then made templates from template plastic and placed double sided tape on the back to help them stay in place on the fabric while cutting.
I made my templates the finished size and then added the 1/4 inch seam allowance when I cut out the fabric shapes with 18mm rotary cutter. I found that this way I did not have any trouble cutting the template with the rotary cutter.
The tips on making the templates and cutting the fabric shapes are:
Check your 1/4 inch seam allowance and make sure it is accurate. Always make sure your template includes the drawn line. I cut my templates out with a 18mm rotary cutter for accuracy. When I trim the 1/4 inch seam allowance on the fabric I make sure the 1/4 inch line on my ruler is on the outside of the template. Only take notice of the 1/4 inch lines, nothing on the left of the ruler will match up.

Step One:
Make templates and cut out all shapes from fabric using instructions given in the pattern.

Showing templates made with template plastic. A has an added seam allowance, B does not. These pieces are waiting to be trimmed. You can see how the diagonal line is placed along the seam allowance.

You can layer up to four pieces of fabric together before cutting to speed up the process.
Step Two:
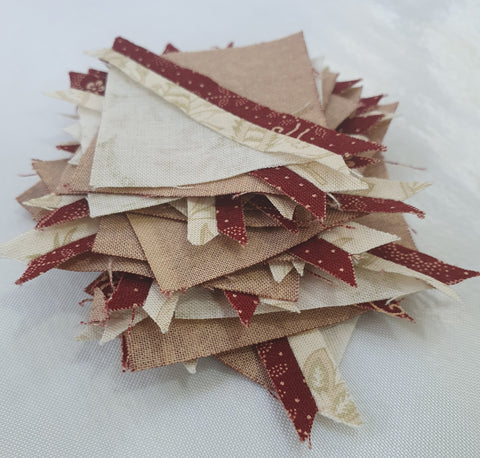
To make the half square triangle units, I sew all the triangles together as given in the pattern instructions. Press the seams open. The units are oversized, the accuracy comes when trimming the units. I place the template with the diagonal line on top of the seam line in the sewn unit, making sure there is at least a 1/4 inch of fabric all around the outside. I then use a ruler and rotary cutter to trim away the excess leaving a 1/4 inch seam allowance around the finished unit as shown in photo above.


Chain piecing is helpful.

Seams pressed open ready to be trimmed. (You can use a little Flatter spray when pressing to help keep the fabric flat and firm.)

Trimmed and ready to go. I keep the template on them so I know which is which.
Step Three:
Using the diagram given in pattern, this is an update to the pattern. (You can download the correct diagram from my website under the Adelicia Sampler Quilt. The diagram download is at the bottom of the page) Or you may have received it in the latest newsletter. Remove the templates and sew all the units together using a 1/4 inch seam allowance.

Revised Diagram for page 17

Make sure the tip is off set, you can tell if you have it correct as it lines up on the right with the 1/4 inch foot and the needle is snug in between the top and bottom layers before you start.

Because I use a Bernina to piece I thought any other Bernina uses out there may be interested in this tip. I have been using Wonderfils decobob thread to piece and it is a 80 weight fine polyester thread. So that means it is prone to coming undone at the ends. Because it is a cottonized polyester it is a bit better than some but still pays to be sure. So I like to take a single backstitch at the beginning and end of my seams, using the reverse button can sometimes mean that the machine will take more than one stitch. Adding bulk to your seam. So.....I found out that this little button, the first button circled by yellow on the bottom is the permanent reverse. When you press it and take a stitch it will do as many stitches as you want in reverse, then release it and the machine will continue as normal. So when I use it and only take one stitch, I can then press it again and the machine will then sew forward so I love that I can use this little button. Give it a try...... To get to this button just press the information icon.
Part Two will be added to the blog next week, so have fun making your templates, cutting you fabrics shapes, sewing your half square triangles and the first diagram units on page 17.
Happy Stitching
Sharon
You can find the blocks here for the Adelicia Sampler Quilt
Please share this post with your quilting friends, the more the merrier as they say.
Keep up with all the posts via the Sharon Keightley Facebook page. Instagram and the Newsletter (you can sign up here) will give updates of all blog posts.


You can find more of my Quilty Ramblings blog posts on all things quilting here
Browse through my downloadable PDF patterns available here
Related Posts

Well I know I have talked about this topic before, you can read about my previous post here where I talk about using1...
Read More
My scrappy stars quilt is coming along, I seem to be in the grove, so focused on this quilt its getting me out of bed...
Read More
Giveaway !!! Scrappy baskets Quilt Pattern, read more below about how to enter.
Many times I end up with scrap pieces...
Read MoreLeave a comment


