Feathered Star part Two
March 19, 2022

Part Two
If you missed part one you can find it here.
Just to refresh, in part one we talked about the notions I use, making templates, sewing and trimming the half square triangle units. Sewing the half square triangle units together to make the first units for the Feathered star block.
The next step is sewing together the next three main units to complete the block.
Sewing units in second diagram.

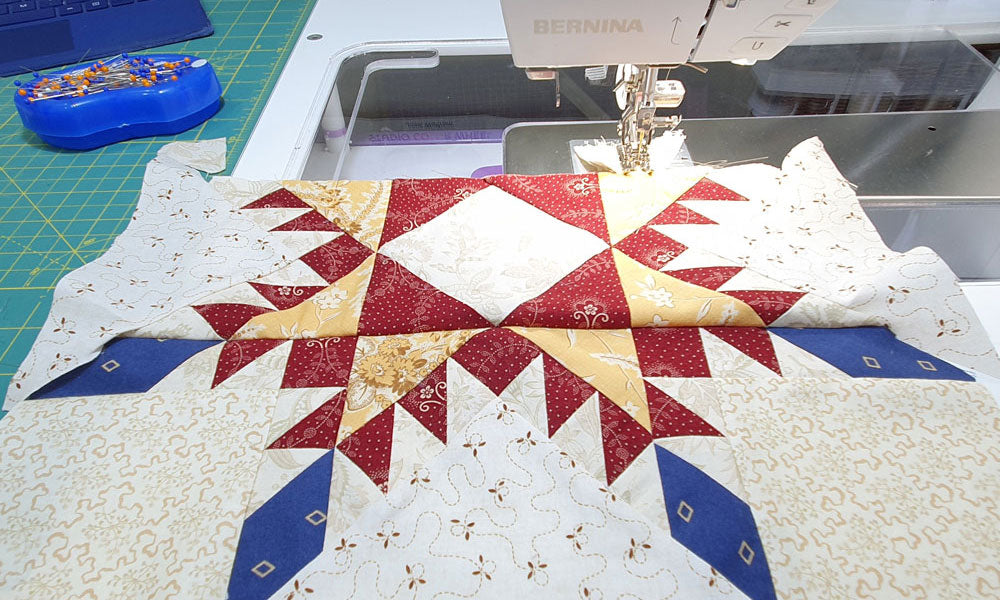
Be aware that you only sew as far as the red arrows in diagram above, leaving the end of the seam unsewn as a partial seam.


You can see in the photo above how the end of the seam is not sewn.
The photo below shows the first yellow triangle sewn onto the half square triangle unit.

Photo below shows the half square triangle unit sewn in place with unsewn ends and getting ready to sew the second yellow triangle in place.


All four finished units.
Sewing units in third diagram.


Four units sewn for corners of star, this part is fairly easy sewing.

Sewing the red triangles to the make the centre unit of the star. Find the centre of the red triangle and the centre of the light print square and pin in place before sewing. Trim off excess tips. (Dog ears)

Sewing remaining red triangles to finish the centre unit of the star. Making sure there is a 1/4 inch seam allowance at all the intersections. Trim off the excess tips. (Dog ears)
Sewing the star together.


Sewing the centre unit to two of the triangle units.
Sew the corner units to the large triangle units, start sewing seam from where the arrows are, to the bottom edge. Then you need to stitch the partial seams together.


Sew side units to the centre large triangle units, starting at top red arrow in diagram.

The next two pictures show the back of the block, you can see how the seams are pressed. The top picture shows the seams clipped at corners around the centre unit, allowing the seams to be pressed in different directions, to one side and open. To clip the seams I just do a small clip in the seam allowance that does not go into the stitching. This then releases the seam, and allows it to be pressed in a different direction. You can watch how this to clip seams here. A nifty little trick. The bottom picture shows the long seams being pressed open, without the need to clip the seams, so you have choices with how you press your seams.


I hope you are all getting on well with part two and waiting for part three on the 28th March.
Happy Sewing
Sharon
You can find the blocks here for the Adelicia Sampler Quilt
Please share this post with your quilting friends, the more the merrier as they say.
Keep up with all the posts via the Sharon Keightley Facebook page. Instagram and the Newsletter (you can sign up here) will give updates of all blog posts.


You can find more of my Quilty Ramblings blog posts on all things quilting here
Browse through my downloadable PDF patterns available here
Related Posts

Antique Red and Green sampler quilts have always held a fascination for me. I decided it was time to make my own and ...
Read More
Its been a while since I have written a blog post, we are currently locked down and you would think there would be ti...
Read More
Well I know I have talked about this topic before, you can read about my previous post here where I talk about using1...
Read MoreLeave a comment


