Sew Along Treasures from the scrap bin. Week Two
October 24, 2019
4 Comments

Today I am going to start making my Shoo Fly blocks for the Treasures from the scrap bin pattern in my book Autumn Bouquet.
As I start with cutting my fabrics there are a few things I would like to mention about my thought process. Firstly I do not cut all my fabrics in one go, I cut for each individual block, sew the block and then choose the next set of fabrics for the next block etc. As I am choosing the fabric combination for the first block firstly I am looking at the relationship with the colours of the fabrics and how they work together, then I am looking and how the prints on the fabrics work together. As these are only small blocks I tend to mostly use small prints, that show off the colour of the fabric. Although there is the odd exception and there are no rules. Some fabrics can lend themselves to fussy cutting, getting a dot or pattern in the center of the squares can be a fun thing to do and can sometimes add to the look of the quilt. Although I mostly prefer a random look myself.
Cutting Tips:
1. Always include the line on the ruler
2. Make sure your rotary cutter blade is sharp. Blunt blades not only make cutting hard work they also create inaccuracy as the more pressure you place on your rotary cutter means more chance of your ruler moving as you cut.
Piecing Tips:
1. I use a thread catcher to begin and end with, although I know some machines have thread cutters I like the thread catcher to anchor the threads and avoid the thread knotting at the back of the seam.
2. I always start sewing with my needle down.
3. I like to make sure that the edges of my seams are together. Without one edge being more visible than the other.
4. I like to use a fine thread and a small needle to avoid taking up too much room in the seam allowance.
5. I like to do a single backstitch in the beginning and end of each seam, the secure the stitching. Especially when pressing the seams open. If your thread is not fine enough, this may cause extra bulkiness.
6. Check your 1/4 inch seam before you start.
Pressing Tips:
1. I like to use a dry iron to start with, then when the seam is in place while my iron is sitting flat on the seam I use the steam button and give it a shot. Then I use a spritzer filled with water and give a light spray, then iron with a dry iron in place again until it is dry. Leave it to cool before moving it again. If you have a wool mat, steam is not necessary, but I still like to use the water spritzer, this gives you beautiful flat seams. Flat seams help with accuracy when sewing to other units and when quilting your quilt.
Firstly I start with making the half-square triangles. Use the directions in the book for sewing these cute blocks.

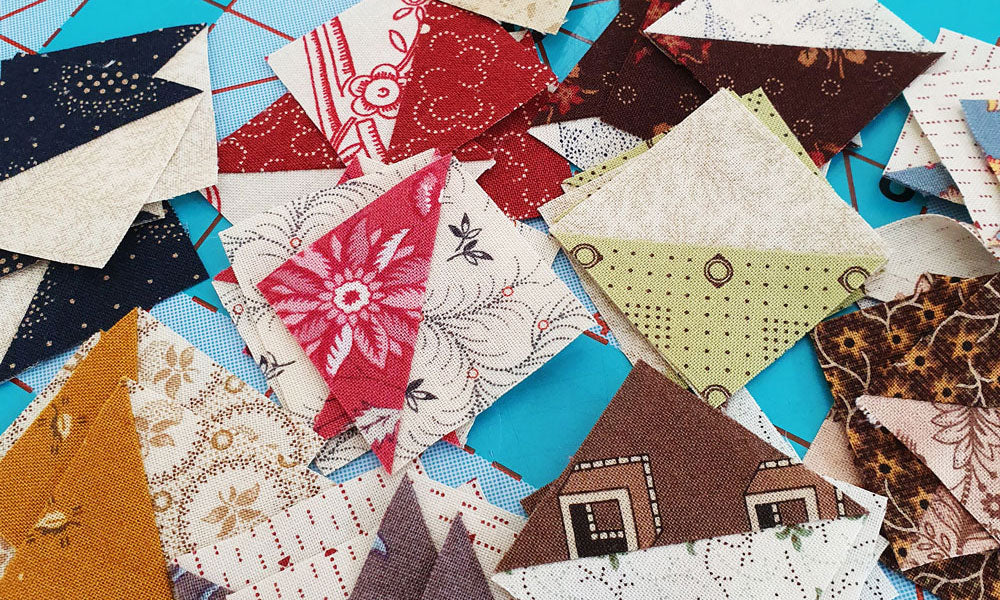
My first pile waiting to be cut and trimmed.


Four half square triangle units ready for my first block. I have trimmed them to size and they are ready for the next step.

I have chosen my center square and background squares and laid them out in order. This helps me to get everything sewn correctly, and hopefully stops the need to unpick.

Stitching the half square triangle unit to the background square for the first row. Always make sure the edges are aligned and I use a pin at the end so the pieces don't slide out of alignment when I am sewing. Some machines have a lever that works as a feed dog on the top, this is a big help.
I like to use a magnetic guide for my seam allowance, although you need to be careful that your machine is compatible with a magnetic guide before using it. Do not use it with a computerized machine. In this case, I would use tape.
I also like to take a backstitch beginning and ending the seam. Especially if I am going to press my seams open.

I like to press as I go, using a dry iron. I firstly press the stitches to set the seam, then press the seam from the top towards the direction of the background fabric. Then I use a spritz of steam or a water spritzer and place the iron on top to dry the fabric, without moving the iron. Moving the iron can cause distortion. Read more about my pressing system above.

I then pin and sew in place the half square triangle unit on the other side in the same manner.

These can be chain stitched, to make life easier. Make sure the needle is down before you start stitching.

I pin each intersection with a double pin, leaving enough room to sew along so I don't need to worry about removing the pins as I sew.
By the time I get to this stage in the block, I have already set out the second block a started sewing it. Using chain stitching so I don't need to worry about using a thread catcher.

The first block is finished and waiting to be pressed.

I pressed the seams to the center with this block. But I felt it added a little too much bulk, so with the next block I pressed the seams open. This gives a much flatter block, and I like it much better.

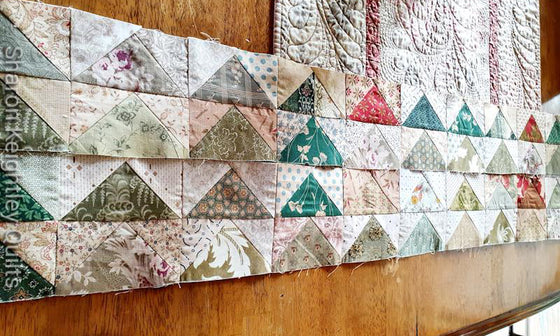
I am well on my way to making all the blocks.
This little block really makes my heart sing and I can't help myself making more.
I hope I have covered everything, please leave a comment, share your tips for choosing fabrics. If you have any questions I can answer them there.
Join me on the 31st of October for week three. Assembling the quilt top. Giveaway from Sentimental Stitches.
Take a look at previous blog posts for the sew-along here
All piecing instructions are on page 14 of the Autumn Bouquet book.
If you are still waiting for your book to arrive, don't worry..... there is still plenty of time. You can join in the sew-along at any time and work at your own pace.
I can't wait to share all my tips with you all and learn your tips too. Sharing the process is so much fun so please post pictures to my facebook group or Instagram.
You can follow along on the Sew Along via my blog posts, Facebook group and Instagram. There will be a hashtag on Instagram #treasuresfromthescrapbin you can post to or you can join my Facebook group so you can post your pictures there and share with everyone else in the group.
If you are signed up to my newsletter all information will be posted in the newsletters.
You will need to have a copy of my book Autumn Bouquet, for the Sew Along. You can find the book online a Martingale or Amazon or here on my website.
My Instagram is @sharonkeightleyquilts
Facebook Group link here
Thank you all for your wonderful comments, good luck with the next giveaway coming up.
I hope you will join in with the fun.
Happy Stitching
Sharon

You can find more of my Quilty Ramblings blog posts on all things quilting here
Take a look at some of the downloadable PDF patterns available
See more of my video tutorials here
To keep up with my blog posts on the Quilty Ramblings blog, sign up to the newsletter below to have my blog post drop straight into your email.

Related Posts

Part Two
If you missed part one you can find it here.
Just to refresh, in part one we talked about the notions I us...
Read More
While sewing the Feathered Star block for the Adelicia Sampler Quilt, I learnt a few tips and tricks and would like t...
Read More
Creating applique flowers for the Adelicia sampler quilt. The applique method I like to use is turned edge and invis...
Read More4 Responses
Leave a comment


Cynthia A. Sarcione
August 27, 2021
I recently purchased the Autumn Bouquet Book. Love the patterns! I am looking forward to starting the table runner called "Treasures from the Scrap Bin?
Thanks for the tips on the blog.
Cindy