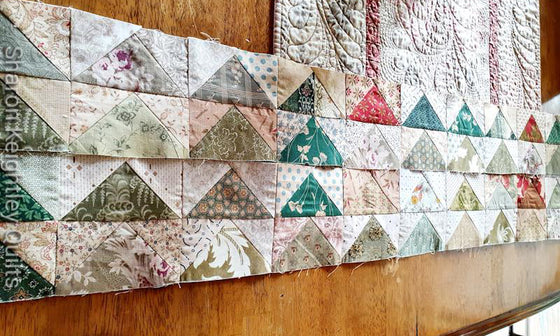
Working on the Roses Quilt again!
August 31, 2018

It's Monday morning and the first rush of the day is over, giving me a few quiet minutes to write this post. Spring is here! There are daffodils flowering in my garden along with a magnificent Magnolia tree, two of my favorite flowers of spring. The air is fresh outside and there is pollen everywhere from the pine trees that surround us. So many jobs are calling for my attention I don't know where to start first....... But the one calling to me the strongest is in my sewing room. The Roses quilt is coming along nicely, I have been squeezing in time over the weekend to stitch the applique Roses onto the third border and I can see the quilt starting to take shape. Today I hope to have the third border stitched in place and start prepping the fourth border of Roses. This will complete the center of the quilt. From there I have a vague idea of what will come next, I am hoping it will come clearer to me as I progress.
To get the placement of the Roses in the correct position, I have traced the border pattern onto transparent tracing paper and pinned it to the top of the background fabric. Then I could lift it up and place the applique pieces in place. I have basted the applique pieces with flower head pins, using water-soluble glue for the smaller pieces. It works a treat.


You can read more posts about the Roses quilt here
Happy Stitching
Sharon

You can find more of my Quilty Ramblings blog posts on all things quilting here
Take a look at some of the downloadable PDF patterns available
See more of my video tutorials here
To keep up with my blog posts on the Quilty Ramblings blog, sign up to the newsletter below to have my blog post drop straight into your email.

Leave a comment


