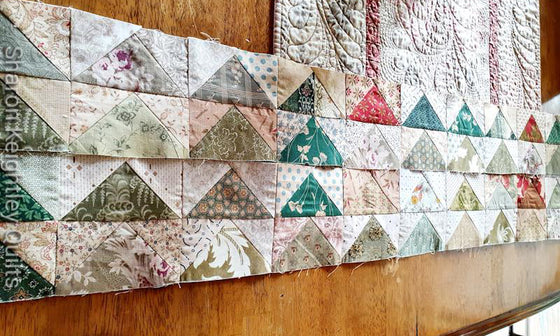
Playing with the Square in a Square Block
March 22, 2013
Hello Everyone
It feels like a long in between posting, the time seems to get away on me. I have been busy working on new designs and finalizing what seems to me old ones, which of course are new to you.
Time for some show and tell. The last three quilts I have made have the square in a square block, these little blocks are four inches square and can be a little tricky. I have some pictures of one of my designs in progress to show you some of the tricks I have learnt to help make these cute little blocks come together a bit easier.
The first thing in making these is it is important to cut correctly, they often have odd sizes as in 7/8's etc so take extra care in your cutting.
The other very important thing is your 1/4 inch seam, this will have to be accurate to produce good results.

You can see that the edge of my 1/4 inch foot is against the edge of the fabric. It is a good idea to test your seam as not all 1/4 inch feet are accurate.
When placing my triangle pieces onto the centre square I fold the centre square in half and finger press to find the centre, then lay my triangle on top matching the point of my triangle with the pressed centre line on the square. the outside tips of my triangle will overlap the square by 3/8's of an inch on each side.

Stitch all four of your triangle pieces on in this manner.

When your have all your triangles stitched in place and pressed. trim the block to the correct size before adding the next round of triangles.
I have been playing with these cute little blocks, this is a peek at a design I am working on.

Pressing your seams on this setting is interesting to get a flat center where the blocks meet.
Jo Morton has a great trick in her book 'Small Quilts with Vintage Charm'. To get your seams to form that lovely little design and flatten out in the center Jo clips on each side of the center so you can manipulate to direction of your seams.

I am loving this fabric combination, the floral purple fabric has been a favorite in my stash for a while now and I am finally getting to use it. (Yay) This fabric is from the line by Blue Hill Fabrics Dark Chocolate and Lilac Dahlia Cream. Even the name sounds divine.
The gold print is a Jo Morton fabric Alexandria. The lovely grey linear print and you know I love linear prints is from Generals Wives by Nancy Gere for Windham fabrics.
I have had so much fun with these little cuties, this design is coming together nicely.


Happy Stitching
Sharon
Leave a comment


