Drafting Blocks, Grainlines and Bias Edges.
January 31, 2013
Hello Everyone
A belated Happy New Year wish to you all. January has gone by in a flash, it is hard to believe this is the last day of the month. I have been busy completing tasks so I can start the new year off with a clean slate. Two of my tasks have been to finish the pattern for my Wildflower quilt, as well as finish the Penny Rose Quilt and write the pattern. Somehow I always think I can accomplish more than is physically possible. Am I the only one who thinks like this or is this normal. LOL. Well it seems I am nearly there with both of these tasks and I am proud of my efforts. While busy making the blocks for these quilts, ( It seems I have an affinity with Square in a Square Blocks) I have had to consider accuracy. Now I am not saying by any means that I am a perfectionist or my blocks are perfect, BUT I think with any block a certain amount of accuracy is achievable if you stick to certain principles. With this in mind I have decided to write this post describing the thought process, and the simple guidelines I use to hopefully achieve accuracy.
As a pattern writer, I try to give the cutting directions that suit the blocks so the quilter can make the block with ease. As I was writing the instructions for the two quilts mentioned above I was aware that grain line is important. Grainline is the direction of the woven thread that makes the fabric.
Warp (lengthwise) and Weft (Crosswise)
Lengthwise Grain runs parallel to the selvage edge, it has very little stretch. The Crosswise Grain runs perpendicular to the selvage edge a little more stretch.
Bias runs at a 45 degree angle, bias is very stretchy.
This is very helpful when making your quilt blocks as it is important to have the straight of grain ( lengthwise or Crosswise grain ) around the outside edges of your blocks.That being said it is now time to get to the good stuff.
Drafting Blocks
I use an eight units to the inch graph paper to draft my blocks, this is available at quilt store and stationery shops. Using the inch guides on the graph paper I start by drawing the finished square of the finished measurement. Then I fill in the lines to complete my block.
I measure each segment to get the finished length needed for each section. ( This then lets me know what measurement each step will be, then I can square up after sewing is completed.)
I also draw a 1/4 seam line around each shape to get the cutting measurement of each piece.
First in order to assess where you need your straight of grain it is always a good practice to draft your quilt block. The other reason I do this is because I can then find the finished measurement of each step, allowing me to square up my blocks at each step. This avoids finding out after finishing the block that it does not measure the correct measurement. (And having to do the dreaded unpicking)

Hopefully you can understand my drafting lines. I have drawn my block to the finished measurement, then I have added a 1/4 inch line around each shape to get the cut measurement.

I have then calculated the cutting measurements needed for each shape.
Now the other consideration I have, is the grainline. It is important that I have straight of grain on the outside edges of each shape. This helps with keeping the block square with minimum stretch.
This is why I cut the squares on the diagonal only once to get my triangles as I will explain in the diagrams below.

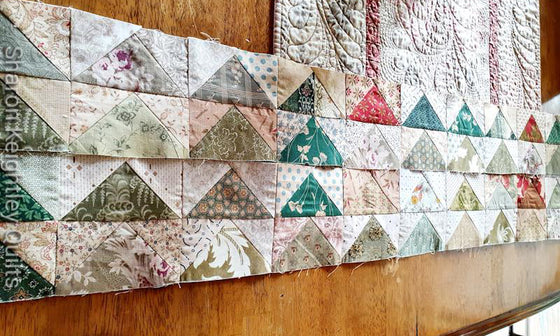
Half Square Triangle will give me the straight of grain on the outside edge, this is perfect for keeping the outside edges of my block of square.

If I were to cut 1/4 square triangles I would then have a bias edge on the outside of my block and this would cause loads of problems, as mentioned above the bias edge has loads of stretch. This is good information to keep in mind when working on your quilt blocks as this can be used for all quilt blocks.
I hope this has been helpful to everyone and if you would like to add any more helpful information please do so.
I am also happy to do my best to answer any questions you have.
Happy Stitching
Sharon
Leave a comment


