Basting and Quilting Penny Rose
February 08, 2013
Hello Everyone
I am busy quilting my Penny Rose quilt. I am so happy with the way it is shaping up, I thought you might be interested in my way of basting. It is the one thing in the process of making a quilt that I don't enjoy. But it has to be done.
I do my basting on the living room floor, using the carpet and pins to secure the backing down. When placing the backing fabric on the floor and smoothing it out I like to have it taught but not stretched. I then pin this all the way around the out side to secure. Then I lay my batting down and smooth it out, so it has no wrinkles. My quilt top goes down next and I like to make sure it is straight and the corners are square. I also like to make sure that the backing fabric is lined up with the top so the center is in the correct place. Remember no stretching, only smoothing out and getting it wrinkle free. I then take the pins from the backing and place them on the quilt top all around the outside to secure. I then pin with safety pins and like to have them reasonably close.
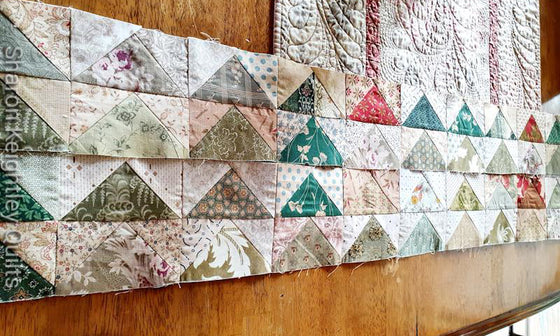
Here are a few pictures of my process.

[caption id="attachment_1356" align="aligncenter" width="1024"]

I like my pins quite close together.[/caption]
Quilting
Now the fun part begins.
I have put some thought into how I am going to quilt this while making the top, and I love the look of cross hatch quilting with applique. I thought I would have to use cross hatching in the center block, so to make the applique shapes stand out I tried to quilt my version of McTavishing although I am not sure this is what it turned out like. Then I thought it would be nice to have a frame around the applique design and move out to crosshatching. I have tried to show this in a picture, but don't you just know that when you decide to take pictures your camera needs to be charged.......
I have also been playing with thread and I am having a love affair with
Aurifil 50 weight cotton Mako Thread. I have used this as a piecing thread for some time now, its a lovely fine thread and does not take up a lot of room when stitched, therefore helping with keeping to a 1/4 inch seam allowance. As a quilting thread it just melts into my quilt top and the cotton thread works so well with the muted reproduction fabrics. I love that it allows the applique to be the star attraction while adding another dimension with a beautiful quilted look. The Aurifil thread quilts like a dream, I have not broken any needles or shredded thread, no tension problems and frustration. I have used it in the top and bobbin and even have different shades top and bottom with no pop ups to worry about. I have used a 70/10 Schmetz Microtex Needle with this thread. There is a great selection of colours to choose from, you can see my choices in the photo below.
[caption id="attachment_1360" align="aligncenter" width="1024"]

Thread colour choices[/caption]
[caption id="attachment_1358" align="aligncenter" width="1024"]

Loving these Star Blocks on the corners of the outside border.[/caption]
I hope to have this pattern available for everyone shortly, I think you will enjoy making this one it has a lot of variety to keep you interested. Gotta love these fabrics.
Penny Rose by
Newcastle Fabrics
Happy Quilting
Sharon
Leave a comment